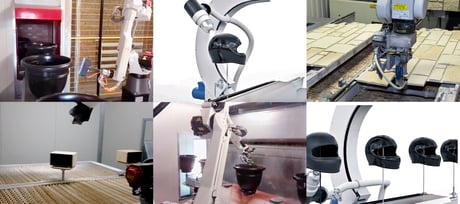

(Cycle on spraying machine one arm – paper belt)
▹ Substrate: solid wooden panel
▹ Lacquer: catalysed acrylic primer and finishing coat
The phases of the cycle:
➀ Rough sanding
➁ Coating application: transparent acrylic primer (80-100 g/sqm)
➂ Air drying time 1 hour; in a hot room or vertical oven 35°C for 30 min.
➃ Manual sanding for the edges and automatic sanding for the flat surface
➄ Coating application: transparent acrylic finish (80-100 g/sqm)
➅ Air drying 1.5h - 2h; in a hot room or vertical oven for 60 min.
What's the purpose of sanding the rough piece?
Machine start-up is generally preceded by preparation of the substrate. This consists of sanding the rough piece, a process that can be done manually or by machine. Pre-sanding of rough pieces is performed in almost all coating cycles, on both wooden and non-wooden materials (e.g. fibre cement and some plastics), and its purpose depends on the specific substrate.
In the case of wooden materials, sanding is designed to smooth and remove wood fibres that have been lifted by damp. On non-wooden materials, it is generally designed to aid adhesion of the first coating layer.
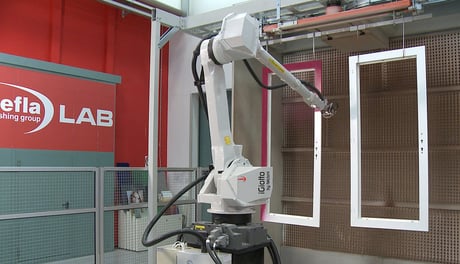
Once the machine start-up procedures and relative pre-wash cycles have been completed, the nozzles are mounted on the spray guns. These are selected according to:
- the type of coating product (water/solvent-based)
- the g/m2 of product to be deposited on the product
- line speed in m/min
What's the best configuration for coating 80% of products?
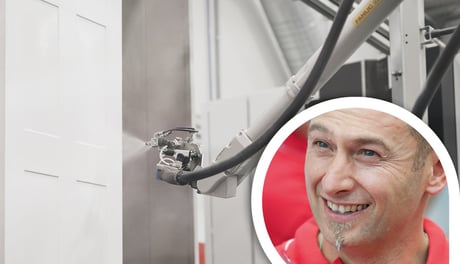
For 80% of products (maximum thickness 35 mm) the ideal coating configuration is to set the two angles of each gun at 45° and set the height at 160 mm (as measured from nozzle tip to piece surface).
How do I prepare the coating?
Coatings are prepared in the proportions normally shown on the packaging or according to personal experience. As a rule, each customer has a customised blend.
The coating is loaded by running the pump, inserting the dip tube in the pre-readied coating tin and performing all the tasks needed to ensure the product reaches the spray guns and the machine is ready for production.
The purpose of the first sample: checking the weight.
The first sample, normally the weight verification one, is now fed through in order to calculate the amount of coating needed per square metre. Pressure is then adjusted as desired.
At this point the operator can start coating the doors.
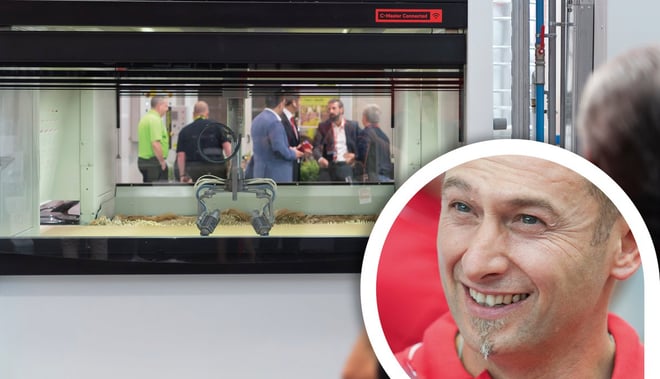
Keyword: cleaning Whatever the coating cycle, even the simplest, operators must take meticulous care of the machine. They must clean the spray guns, avoid rejects caused by accidental dust falls and, the following day, thoroughly clean the nozzles, pump, circuit and product or suction filters.
What does "end of shift cleaning" mean? And how much time does it take?
End of shift cleaning can be completed in 15 minutes and involves the following:
- Flushing of the multi-gun circuit
- Nozzle removal and subsequent manual cleaning
- Cleaning of the spray gun arm with solvent and brush
- Dusting of internal booth walls
▷ Key word: quality. ◁
For each coating cycle, even the simplest, the machine and the operator determine the outcome. The machine must deliver in terms of performance, speed and coating uniformity, and the operator needs to keep it efficient, especially as regards the guns and nozzles (improves application quality), cleanliness, filters and air recirculation (ensures it stays dust-free).
This procedure considerably reduces end-of-shift cleaning times and significantly increases Transfer Efficiency, which means less coating consumption.